If your radiator is starting to feel cold at the bottom, this may be due to a build-up of sludge that needs flushing out. If you don’t flush your radiators, the build-up will make your heat pump and radiators work harder by preventing the hot water from circulating properly meaning your heating won’t be as efficient. When it comes to how to flush your radiator system, you can either call a plumber or carry out the radiator flush yourself. Here, we’ve listed step by step instructions on how to flush a radiator system.
What is a Radiator Flush?
A radiator flush means getting rid of all the sludge that may be built up in your radiator. Radiator sludge is a combination of rust, dirt and scale that inevitably builds up over time and circulates through the system. You can tell if your radiator needs flushing by feeling the bottom of the radiator; if this is cold, your radiator needs flushing. However, please note that if your radiator is cold at the top, this may mean there is trapped air inside the radiator and will therefore need to be bled.
It’s important to check if your radiator needs flushing as the build-up of sludge will make your heat pump and radiators work harder by preventing the hot water from circulating properly. This means you could be spending more on your heating bills for less efficient heating.
Although cold patches at the bottom of your radiator is a telltale sign that you need a radiator flush, other warning signs could be brown liquid when bleeding your radiator, your radiators need to be bled often, your boiler is making loud noises or you have a broken or leaking heat pump. If you notice any of these signs, it’s best to check if your radiator needs to be flushed. Read on to find out how to flush a radiator system yourself.
How to Flush a Radiator System
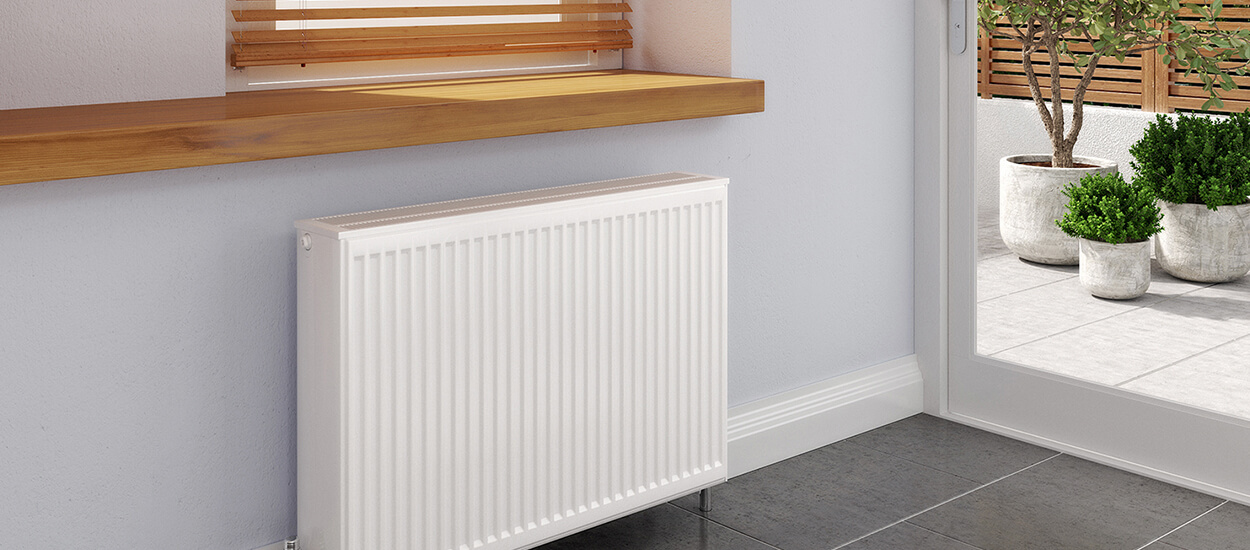
You can flush any radiator in your house whether you have vertical radiators from our designer radiator range, traditional column radiators or heated towel rails. When carrying out a radiator flush, allow for 1 hour and 30 minutes and make sure you have the following items available:
- Old towels or sheets
- A spanner
- A large bowl or bucket
- A radiator bleed key
- A hosepipe
- A rubber hammer
1. Turn Off The Heating
You will need to take your radiator off the wall, so before doing this, it’s important to turn off your heating system and let it cool down for at least an hour so that if you come into contact with the water, it won’t be too hot.
2. Protect Your Flooring
Use your old towels or sheets to protect your floor and spread them out around the radiator paying close attention to the areas under the valve. The water that comes out of your radiator will be sludgy and dirty so keep this in mind when using the towels or sheets!
3. Turn Both Valves Off
Make sure you shut the radiator off from the rest of your central heating system by turning the valves at both ends of the radiator off. Turn the thermostatic radiator valve off by hand by twisting it clockwise or to the ‘0’ position. Then, move to the other side of the radiator to turn the lockshield valve off, you will need to remove the plastic cap and then use a spanner to turn the valve clockwise. Count the number of turns it takes and note that number down as this will help you to re-balance your radiators later on.
4. Drain The Radiator
Grab your bucket and place it underneath the thermostatic radiator valve and grip one wrench onto the body of the valve whilst using the other to loosen the nut that joins the radiator to the valve. Then, use your bleed key to open the bleed valve which lets air into the radiator to help the water exit the radiator. When the water and sludge start flowing out of the radiator, use your bucket to catch it. Loosen the nut on the lockshield valve with your spanner in the same way as the thermostatic radiator valve to let even more water out and make sure you tip the radiator to ensure you’ve emptied everything from inside. Then, close the bleed valve with the bleed key.
5. Take the Radiator off The Wall to Flush
Once the water has stopped flowing out of the radiator, you can completely disconnect the radiator and remove it from the brackets to carry out a radiator flush. Take the radiator outside to flush it out by placing your hose pipe into the pipe inlet and turning on the water to remove any remaining sludge inside the radiator. Do this from both sides of the radiator until the water runs clear at each end.
6: Reconnect Your Radiator to The Wall
After your radiator flush, you can reconnect your radiator to the wall. Do this by tightening the valves on each side of the radiator to connect it to the wall, closing the bleed valve with the bleed key, use a spanner to tighten the TRV and lockshield valve (refer to the number of turns you noted down earlier) and then reconnect your radiator to your central heating system. You can follow the steps above backwards to do this!
How to Power Flush a Radiator
If you’re still having problems after flushing a radiator, then you may need to power flush your radiator for any sludge that may be left in the pipework. To do this, you will need more help than just a hose pipe. Instead, you will need specialist equipment and chemicals that gas safe engineers have to effectively remove the debris from the radiators. You can contact your local gas safe registered plumber as they will know how to power flush a radiator effectively.
Make Sure You Get Annual Services
It’s important to look after your boiler and your radiators and get annual services to make sure any small issues don’t become large problems. Be sure to book your annual services to keep things in check.