Changing a radiator valve is a straightforward task that can help improve the efficiency of your heating system. It can also resolve issues such as leaks or temperature imbalances. Whether you’re upgrading to a more modern valve or simply replacing a faulty one, understanding the process ensures a smooth and effective replacement. In this guide, we’ll walk you through the essential steps to safely and efficiently how to remove radiator valves, helping you maintain a comfortable and well-regulated home environment.
How Do Radiator Valves Work?
Radiator valves are essential components of a central heating system. Thermostatic radiator valves (TRVs) automatically adjust the amount of hot water coming into a radiator based on the room’s temperature. Manual radiator valves let you adjust the temperature of the radiator yourself.
Manual radiator valves are the simplest type, functioning much like a traditional tap. When you turn the valve’s knob or handle, it opens or closes the valve, regulating the amount of hot water or steam that enters the radiator. The more open the valve, the greater the flow of hot water, and the warmer the radiator becomes.
Thermostatic Radiator Valves (TRVs) offer a more advanced level of control by automatically adjusting the flow of hot water or steam based on the room’s temperature. TRVs are equipped with a temperature-sensitive element, usually a wax or liquid-filled sensor, that expands or contracts in response to changes in room temperature. When the room reaches the desired temperature, the sensor causes the valve to partially close, reducing the flow of hot water into the radiator and preventing the room from overheating. If the room temperature drops, the valve opens up again to allow more hot water in, maintaining a consistent and comfortable environment.
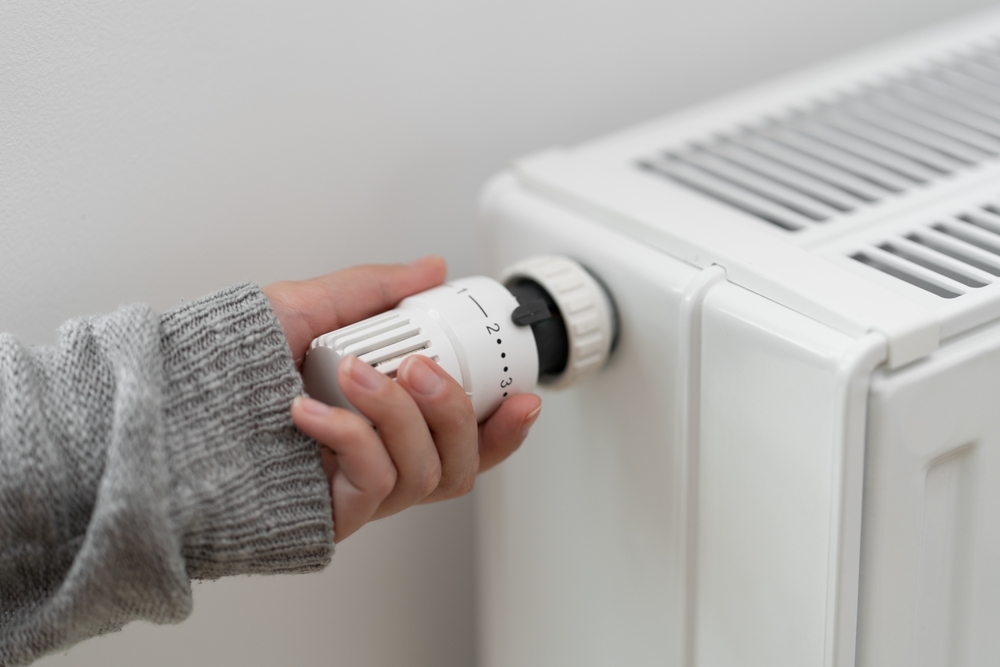
Whereas thermostats control the heating throughout a property, a radiator valve controls a specific radiator. Radiator valves are usually found on the side of the radiator and look like a numbered cylindrical dial with a cap.
Why Replace Your Radiator Valves?
Radiator valves can affect the efficiency of your radiator if they are old and faulty. The radiator won’t be able to heat up or cool down effectively, which could mean you see an increase in your heating bills. If your radiators still aren’t working properly after replacing the valves, it may be time to buy new radiators.
You may want to replace manual radiator valves for TRVs or upgrade the style of radiator valve if you think it looks outdated. It’s usually advised to replace TRVs after 10 years as they lose their efficiency with age. Old radiator valves gradually lose their precise temperature control and could mean the radiators are running too hot or too cold.
Is It Easy to Change a Radiator Valve?
It’s not difficult to know how to change a radiator valve once you know what you’re doing and are experienced at DIY. You’ll need basic tools such as a spanner, PTFE tape and a pair of pliers. You’ll also need a bucket and towels to catch the excess water released. You can also use a hose by attaching it to the valve and placing the other end outside to disperse the water.
You may want to call a professional to change and replace your radiator valves if you are unsure. It’s better to be cautious than accidentally damage the radiator and valve. If you do decide to do work with your radiators, make sure they are always turned off. It’s very easy to get burned by the hot water if you don’t turn the central heating system off before you do work.
Can You Change Radiator Valves Without Draining the System?
If you’re changing multiple valves on radiators throughout your property, it’s best to drain the system. This is a good time to flush the radiator through and clear away any build-up of sludge. You’ll know when the sludge (a mixture of rust, dirt and debris) is clear when the water flows clear.
However, you don’t have to drain the radiator if you’re only changing one radiator valve. It’s beneficial not to drain the whole system if you’re just replacing one valve on a radiator. The water in the system is full of heating additives and inhibitor which protect the system. When you drain the entire system, you’ll lose some of this protection.
How to Replace a Radiator Valve
The first thing you need to learn for how to replace a radiator valve is to switch your central heating off. Next, connect a hosepipe to the drain valve on the radiator and put the other half outside to drain. Alternatively, you could place a bucket underneath to catch the water. It’s advisable to put down towels around the radiator to soak up any excess water.
Use a spanner to turn the drain valve anticlockwise. Open the bleed vents (you may need a radiator key) and check that the water is coming out. Make sure to have the hose fitted fully or a bucket underneath to catch the water.
Once the radiator is empty, use a spanner to loosen the valve nuts. You can then remove the valve and add the new one. You can add Wrap PTFE tape around the threaded ends of the pipes to ensure a watertight seal. Make sure the valve is aligned properly and is compatible with your radiator and the pipework. You can find valves in the radiator accessories section at Stelrad.
 Next Day Delivery£18 For Next Day Delivery On All Products*When ordered before 2pm.*T&Cs apply
 HOME SERIESConcord Rail Coloured


